Mapping PayPal Data
If you accept payment from your customers via paypal, then you can easily export and plot your sales and revenue data. This lesson is a step by step guide to exporting it and uploading it to 2map.co.uk.
- Hover over the History menu
-

A menu will drop down
- Click 'Download History'
-

This will take you to an options screen.
- Click 'Customise Download Fields'
-

We only need a few fields.
- Select the Fields
-

Deselect all the fields.
Make sure 'Multi Column Postal Address is ticked'.
If you want 'postage amount' then that may be a useful field to map (if it differs by geography).
- Save the Fields
-

Scroll down to the bottom.
Click the 'Save' button.
- Set the 'Custom Date Range'
-

Choose a large range, such as a year, to give enough data to plot.
- Select 'Comma Delimited' then Download
-

Choose 'Comma Delimited' as the file type.
Click the 'Download History' button at the bottom.
Save the CSV file to your local disk.
- (Optional) Edit the CSV file
-

Open the CSV file in a spreadsheet package such as Excel.
Remove any unnecessary fields.
The highlighted fields such as postcode and currency values are the only important ones. All other columns can be removed.

Save the file as CSV.
- Sign in to 2map.co.uk
-

- Go to the Data Upload Page
-
Under the 'Data' menu you will find an 'Upload' submenu.
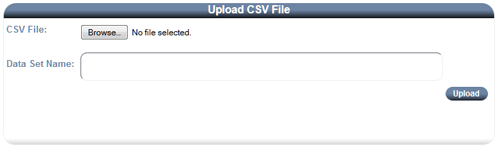
Click 'Browse' and then select the CSV file that you just saved.
Give the dataset a unique name.
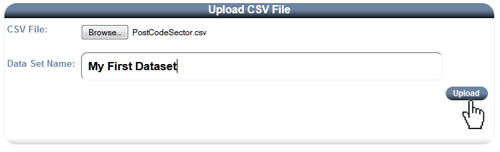
Click 'Upload' and you will be taken to the data conversion page.
This page will create a dataset by adding up all the values in each area.
- Select the Level to convert to
-
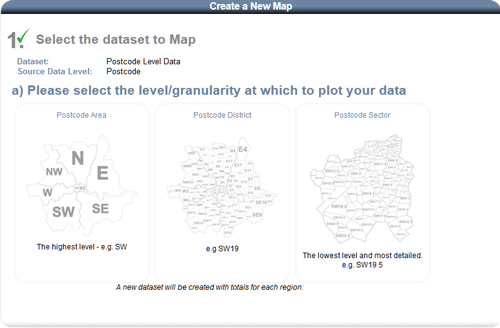
Select the level at which you wish to plot your data (by postal area, district or sector).
The system will create a new dataset at the level you have chosen.
Record level rows will be grouped together based on the level you have selected. The values in this new dataset will be automatically calculated by adding up all record level values for the rows in each group.
- Choose what each row represents 'Sale'
-
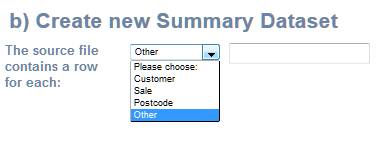
As the CSV file has a row for each transaction you should select 'Sale'
Each postcode area or sector will automatically be given a field which has the number of sales within its boundary.
- Give your new summary dataset a name
-

Enter a name in the 'Dataset Name' text field.
Make sure this is a unique name. If you have already used this name for another dataset then you will be told to enter a different one.
- Click 'Next'
-

Leave the defaults for the remaining options.
- Choose the column to plot
-
You are now on the last page of the map wizard.

Click on the field you wish to plot.